Guide
Organise your photos in Lightroom – it’s worth it
by David Lee
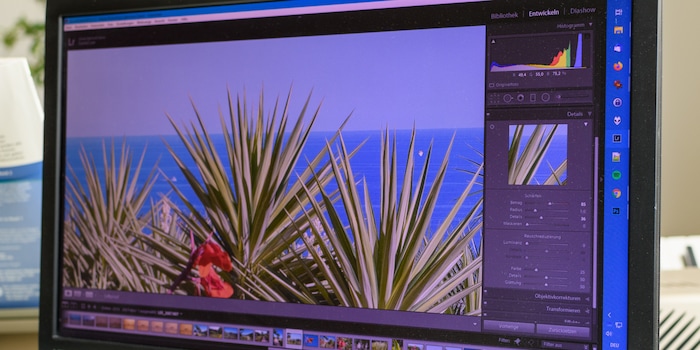
Images are often sharpened automatically: when they are taken, when they are edited and when they are uploaded to the web. However, this does not always happen. And even if it does, you can still achieve slightly better results with manual sharpening.
The purpose of sharpening images is not to correct blurred images. It is simply a matter of removing small blurs that inevitably occur. Even a perfectly taken photo can be or become blurred for various reasons.
Firstly, slight blurring already occurs in the camera. The sensor consists of red, green and blue pixels, which when added together do not produce the same sharpness as a monochrome sensor with the same resolution.
On the other hand, certain image editing processes lead to slight blurring. The most common are rotating and resizing the image. I have described why changing the image size leads to blurring in this article.
When you take photos in JPEG, the camera already performs sharpening. You can set the level of sharpening in the camera - where you also define the colouring and contrast of the JPEGs. With Canon, this function is called Picture Style, with Nikon Picture Control and with Sony Creative Mode.
JPEGs therefore usually do not need to be sharpened. Raw files, on the other hand, do. RAW converters such as Lightroom already have a slight sharpening as a default setting when you edit a raw image. This means that the image is also sharpened if you don't specifically take care of it. However, perhaps not in the way you would like. And that's the advantage of RAW: you can adjust everything exactly as you wish afterwards.
But how do you know when an image is optimally sharpened? Basically, it should be as sharp as possible without causing unwanted side effects. The number one side effect is an unwanted increase in image noise. Added to this are contours with double edges or a strange glow that definitely doesn't belong there.
This image was taken at 100 ISO in sunshine, so there should be no visible noise. But it does, because it is massively oversharpened. The artificial double edge between the house wall and the sea is clearly visible. And the stones look like they have been painted because the contours are too sharpened.
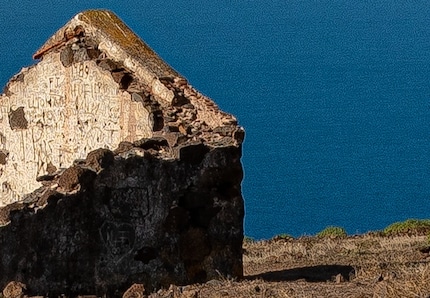
To judge the sharpness of the image, you should view a section in the 100 per cent view. In this view, one photo pixel corresponds exactly to one screen pixel. If this is not the case, the conversion from photo pixels to screen pixels will result in slight blurring.
Zoom in to where the image is sharpest. The area must be in focus and tend to be in the centre of the image rather than at the edge. Also choose a spot that contains both large areas (e.g. sky) and fine structures.
In Lightroom, the sharpening settings are located under the "Details" entry. In Camera Raw, this is the third mini icon with the two pointed triangles. The "Amount" and "Details" sliders make the image sharper, but also increase the noise.
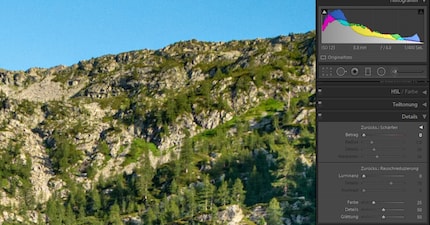
"Masking" removes the noise caused by "Details". However, this results in frayed or grainy contours.
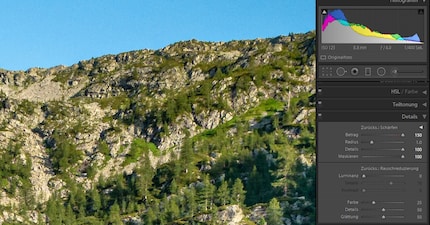
Because sharpening increases the noise, the noise reduction sliders in Lightroom are located directly below. A distinction is made between colour noise and brightness noise (luminance). The luminance slider is set to zero by default, as most people find luminance noise significantly less disturbing. And removing luminance noise has the side effect of creating watercolour-like washes.
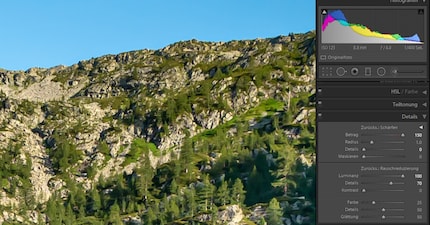
I don't have a specific method or order for applying the various sliders. It doesn't need to be. The important thing is that you know what to look out for when using a slider. This also applies to the unwanted side effects shown in the pictures above.
I always readjust several times. The end result should be a balanced mix between sufficient sharpness and detail and little noise. You won't see a perfect image here because I can't guarantee a 100 per cent view, but something along these lines:
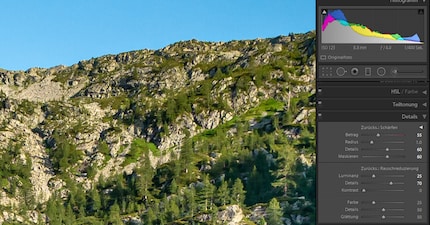
Important: Only try to get the sharpest parts of the image completely in focus. In the image above, this would primarily be the horizon. If I tried to get all areas sharp, the image would be over-sharpened.
The sharpening described above is only for RAW: it makes up for what already happens in the camera with JPEG. In addition to this RAW sharpening, sharpening takes place at the end of every image processing - for both JPEG and RAW.
RAW photos must be exported as JPEGs so that they can be viewed on the web, for example. You should also not simply overwrite JPEGs after editing, but save them separately - which is just another word for "export". During this export process, the image size is often changed and the image is sharpened at the same time.
If your photo has 6000×4000 pixels and is displayed on a screen with 1920×1080 pixels, it must be converted. This creates blurring. For optimum results, you should export the image so that it already has the resolution at which it will be displayed.
This is often difficult in practice. Not every screen has the same resolution. It is even more difficult on the web. Our website, for example, displays full-width images at 828 pixels. This looks different again in the mobile view - and the images will be a different size in the next redesign anyway. In addition, the web services also optimise the images themselves.
Here's a comparison: I uploaded the first image in its original resolution without sharpening, the system then downscales it itself and possibly also sharpens it. I downsampled the second image to 828 pixels in Lightroom and sharpened it considerably during export. The differences are quite visible if you actually view the image at 828 pixels (desktop version).
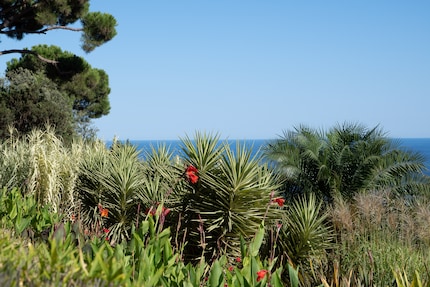
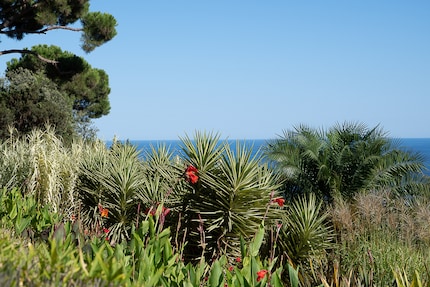
The worst result will be if you downsample, but not exactly to the right size, and do not sharpen. Here I have converted to 839 pixels wide (as odd a number as possible) and deliberately not sharpened.

It remains to be seen whether it is worth the effort to convert your images for the output format. One thing is clear: If you convert, you also have to sharpen. This is usually done in the same step. A few examples:
Photoshop Elements: Menu Image > Scale > Image size, select "Bicubic sharpen" in the dialogue at the bottom.
Or: Menu File > Save for Web. Here the image is not only converted, but also saved again immediately.
Photoshop full version: Menu "Image > Image size" or "File > Export > Export as". Use the "Bicubic sharpen" method here too.
Lightroom: "File > Export", activate and fill in the entries for image size and output sharpness.
Affinity Photo: "Document > Change document size" or "Export file" if you want to save immediately. Both "Bicubic" and "Lanczos 3" are suitable calculation methods. The latter should deliver even better results, but the calculation takes longer.
IrfanView: "Image > Resize", activate "Sharpen by resample" in the dialogue, method: Lanczos.
My interest in IT and writing landed me in tech journalism early on (2000). I want to know how we can use technology without being used. Outside of the office, I’m a keen musician who makes up for lacking talent with excessive enthusiasm.