Guide
Cold weather? Not a problem! I’ve decked out my plants with winter coats
by Darina Schweizer

I sowed two old tomato varieties a good three weeks ago. Now the young plants are ready for a larger pot. A move with pitfalls.
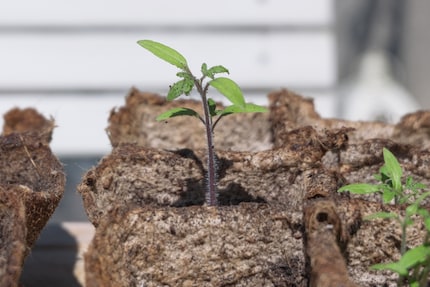
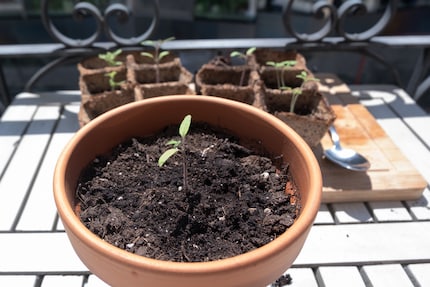
Moving is exhausting. That's just as true for me as it is for my tomatoes. They have now been growing valiantly in their growing containers for three weeks. As soon as they have taken root properly, they are torn from their familiar surroundings. From their tranquil spot on earth, they head out into the wide world: the tomatoes are placed in a terracotta pot with a diameter of 15 centimetres. In jargon, this transplanting is called pricking out.
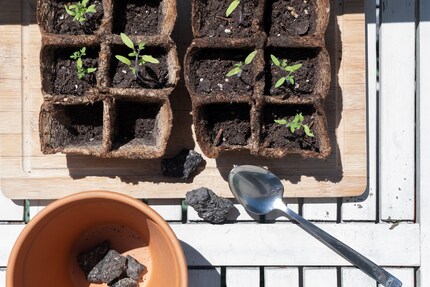
I know that the time has come because my young plants have grown their first leaves. They look different enough from the initial cotyledons that even I, as a layman, can recognise the difference. You don't need much material for pricking out: pots with a diameter of at least ten centimetres and a hole so that the water can drain away and prevent waterlogging. A pricking-out stick or a normal soup spoon and nutrient-poor, well-aerated soil.

First of all, I water my tomato plants thoroughly so that the potting compost does not become too detached from the roots when I remove them. I put a few stones in my clay pot so that half the soil doesn't fall out of the relatively large hole. The stones also act as a simple drainage system so that the water drains away slowly. I fill the pot about seven-eighths full with high-quality, low-nutrient soil. I use this because I want to force the plants to develop strong roots. Because nutrients are not available in large quantities, the tomatoes need to form a strong, branched root system to become "full".

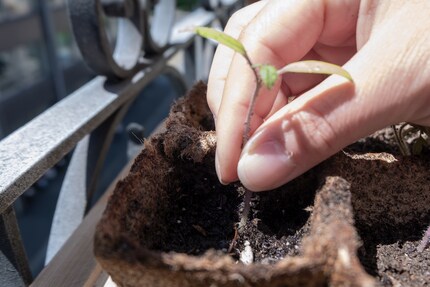
I use the back end of the spoon to make a hole in the centre for the young plant. It now needs to be removed from the growing container. I take the spoon and loosen the soil around the tomato. At the same time, I gently shake and pull the fragile plant by hand. Apparently not carefully enough: with a jerk and a sound that sounds like torn roots, the seedling comes loose. Oops! I hope it survives the move. I'm even more cautious with the rest of the plants.

I place the young tomato relatively deep in the hole in the terracotta pot, close it and press the soil down lightly. Then I water the plant. Not too much, the plant must not be overworked. That's why it stays in the shade for two days. Preferably under a roof so that it's nice and warm.

On the inner windowsill, the tomatoes should regain their strength after these exertions. The soil should always be moist, but never wet. And above all, never water the leaves, only the bottom. After a few days, the plants should be ready for sunlight again. Then I will put them on the balcony from time to time during the day so that they can get used to the fresh air before they are planted out in well-fertilised, nutrient-rich soil in about three weeks' time. In the next few days I need to get some bamboo sticks to stabilise the tomatoes. Otherwise they will eventually bend over.
So much for the theory, in practice I still have doubts as to whether the tender little plants will actually develop into strong plants. As an old hand in the tomato business, do you have any good tips for me? Then let me know before I kill my plants through negligent behaviour.
Practical solutions for everyday problems with technology, household hacks and much more.
Show all