
Background information
My own NAS system – Part 1: a hard farewell to Synology
by Richie Müller
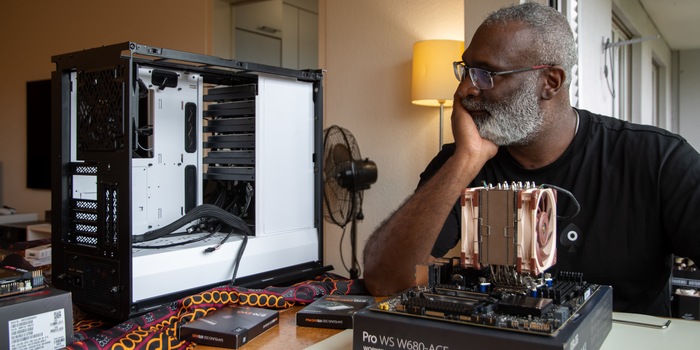
After some time off due to illness, I’m back to my NAS project. Time to deal with the hardware. I made a few mistakes during the selection process. Luckily, I learned from them.
After I opted for the Unraid operating system in the last part of this NAS series, fate struck me down. Due to an illness, I had to put my DIY NAS project on hold for more than a year. But now I’m back and rearing to go. Only, where had I stopped back then? Time for a brief recap. If you still remember everything, just skip to the section titled «DIY NAS: hardware and optimisation».
I originally wanted to discard my Synology and replace it with a home-built NAS or home server. However, the Community convinced me not to do this for security reasons.
So, I decided on a two-pronged approach. First, I decided to purchase a Synology successor model, which I’ve done. In the end, I chose a Synology DS1522+. My family and company data is stored securely on that new network storage. Second, I want to build a home server for some experiments.
Initially, I still wanted to build the best NAS possible. Cost wasn’t an issue. Only, I hadn’t given enough thought to specific usage scenarios – something that’s essential here. As of today, I’m looking at the following applications, among others:
I can install the applications listed above directly from the Unraid Community App Store.
More usage cases
This list isn’t exhaustive. By building my own NAS/home server, I want to create a system that’ll also meet my requirements in the long term. I never want to be worrying about whether I have enough memory, hard disk space or CPU power available.
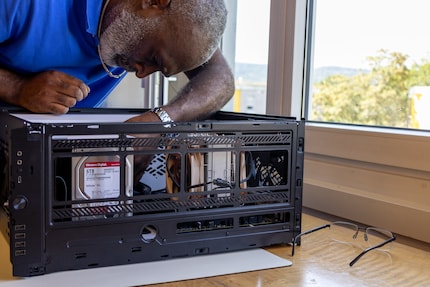
Since I was keen to get started quickly, I hadn’t taken a few points into account when originally choosing my hardware. As a result, I’ve had to replace some components. Here’s both the original and my final setup:
Intel Core i9-10900K (old): I chose the Intel Core i9-10900K because I wanted enough performance for my planned Docker containers and virtual machines. However, after a drastic increase in electricity prices, I realised I’d neglected the issue of energy consumption. The i9 is just too power-hungry for my setup.
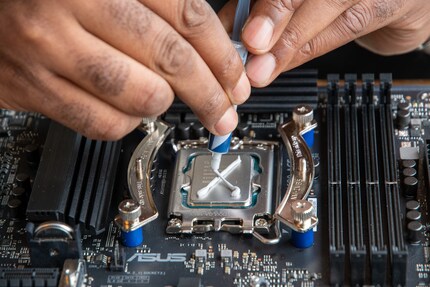
Intel Core i5-13600K (new): fellow editor Kevin recommended I switch to a more energy-efficient processor. The 13th-generation Intel Core i5-13600K offers more than enough power for my purposes. Its efficiency cores also make it more economical.
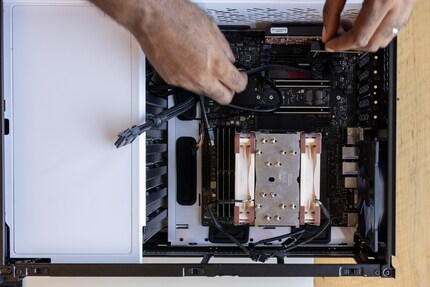
ASUS ROG Maximus XII Extreme (old): I originally opted for the ASUS ROG Maximus XII Extreme motherboard. It offers plenty SATA ports, eight straight out of the box. Perfect for my project, since I want to install as many hard disks as possible. This motherboard would’ve matched my original i9 processor with its LGA 1200 socket. However, the i5-13600K has an LGA-1700.
Asus PRO WS W680-ACE (new): as a result, I have to replace the motherboard. The Asus PRO WS W680-ACE is designed for server and workstation environments. Among other things, there are connection options for three M.2 SSDs and four SATA III ports. With the Delock 90498, I can also increase my number of SATA III ports to nine. Error correcting RAM is also compatible with this motherboard, more on this in the next section.
2 × 8 GB HyperX FURY DDR4 (old): I originally went for two 8 GB HyperX FURY DDR4 3200MT/s XMP CL16 DIMM RGB models. But after learning more about Unraid’s requirements, I realised I need more RAM, especially for using Docker and virtual machines.
4 × 32 GB Kingston D5 4800 ECC R-DIMM DDR5 (new): I quickly replaced the old RAM with ECC-capable ones. ECC stands for Error Correcting Code. This type of storage is usually used in NAS and servers. This RAM has an additional chip to independently detect and correct DataBit errors during operation. It also ensures greater data security. On top of this, DDR5 RAM offers better performance and a higher bandwidth.
Unraid requires sufficient RAM for system performance, since the operating system is loaded directly into the main memory after booting. This is why I decided to install as much RAM as possible. My maximum is 192 GB of RAM. In the end, I «only» installed 128 GB since we don’t have the manufacturer’s 48 GB RAM modules in our range.

6 × 6 TB WD Red Plus (old): the WD Red Plus were part of my build from the beginning. They offer enough capacity for now.
SATA III SSD: 2 × 500 GB Samsung 870 EVO
NVMe SSD: 1 × 2000 GB Samsung 980 Pro, no heat sink; 1 × 2000 GB 980 Pro, heat sink I need the SATA and NVMe SSDs for separate cache pools in Unraid.
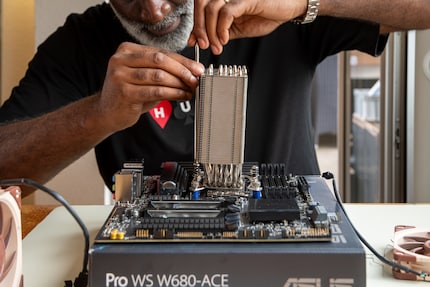
be quiet! Pure Rock 2 (old): my be quiet! Pure Rock 2 cooler was suitable for the original configuration. With a new processor, however, I’m forced to replace it.
Noctua NH-U12A (new): Noctua is known for good cooling performance and low fan noise. So, I’ve gone for the Noctua NH-U12A CPU cooler instead.
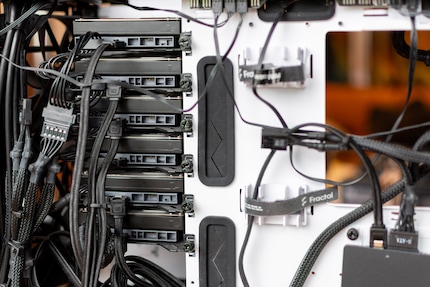
The Fractal Define 7 is a powerful PC case. It offers space for up to 14 hard disks. This fulfils my desire for plenty storage capacity, even if I don’t start with 14 hard drives.
Verbatim Nano, incl. OTG adaptor. I chose this stick because it doesn’t protrude beyond the case. This reduces the risk of accidentally pulling it out. An important point, considering it contains the heart of my system.
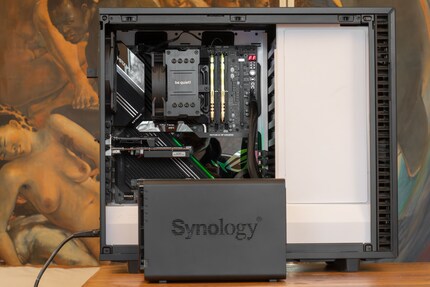
If you’re thinking of building a home server or a NAS, I recommend you proceed like this:
1. Usage analysis and planning
2. Hardware selection
3. Software selection
Even if these preparations add time, it’s worth taking a structured approach. Otherwise, you’ll have a similar experience to me.
My system is assembled now, finally. In the next article, you’ll find out how I fared during the installation of Unraid.
I'm a journalist with over 20 years of experience in various positions, mostly in online journalism. The tool I rely on for my work? A laptop – preferably connected to the Internet. In fact, I also enjoy taking apart laptops and PCs, repairing and refitting them. Why? Because it's fun!