
Inklay: a low-power DIY display perfect for any cyclist
I regularly commute to Zurich by bike. Checking on the weather first thing determines whether I'll be cycling or not. After all, I don't want to be rained on. Still, I'm not a fan of most dedicated apps and I need additional motivation. Which is exactly why I built my own display.
During the warmer months, I regularly ride my bike to work in Zurich. I usually decide whether this'll happen early in the morning right after getting up. After checking the weather app, I spontaneously decide depending on the weather, wind and temperature. But I'm not very inspired by most weather apps. They're also usually rather slow at delivering the data I really need.
Then an idea arises: I need the weather information that's relevant and there for me each morning. In addition, the weekly and annual kilometres I power through should motivate me to ride my bike as often as possible.
Fine, I'll do it myself
Okay, let's think about this. I bought a tablet and put together a small website as a dashboard. But I quickly realised that might not be the best idea. I don't need any more cables and power plugs in my bedroom. Just something simple. Something that's there, runs passively and that I don't have to worry about.
At some point in my research, I came across E-Ink displays. E-Ink is extremely energy-efficient and it dawns on me that I could realise my idea without cables or power plugs.
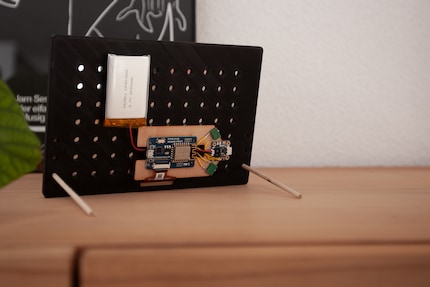
Over the course of several months, I looked for all the necessary components, ordered them and designed a product that was acceptable and that I could assemble myself.
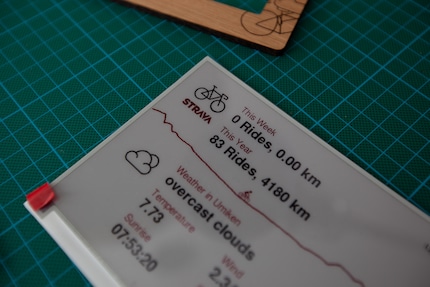
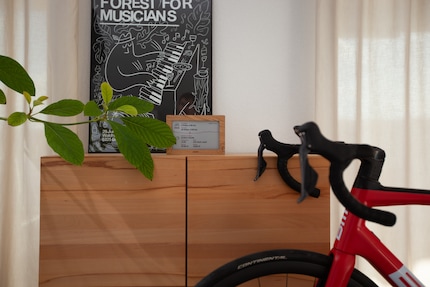
The finished display shows the weather at my location as well as the kilometres I’ve covered per week and per year – thank God for Strava. It's connected to the Internet via Wi-Fi and retrieves new data once an hour to conserve battery power. The display is embedded into a wooden frame and a specially designed 3D print case.
From concept to finished product
After some initial research, I discovered some exciting E-Ink projects on the Internet. I found projects for displaying weather data, personal calendars and to-do lists. It was initially difficult to get an overview of the hardware and technologies used. But I gradually understood all the possibilities and their limits.
Components
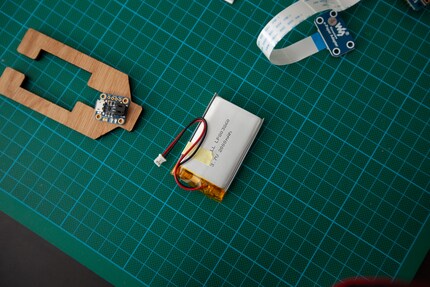
I chose an E-Ink display from Waveshare. Initially I wanted a black and white display. But in the end I went for a three-colour display. The new display offers a resolution of 800 × 576 pixels. Refreshing the display takes about 20 seconds.

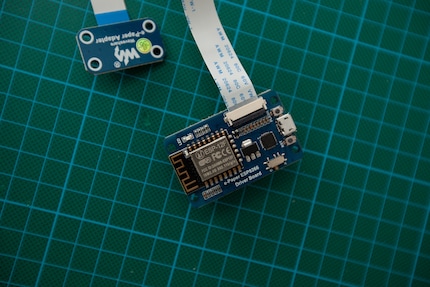
The display can be controlled with a Raspberry Pi or an Arduino. However, Waveshare sells a small developer board, equipped with all necessary components. It also provides a direct interface to the display. The controller is based on the ESP8266, has integrated Wi-Fi and can be programmed directly via the Arduino IDE.
I used a 3.7V LiPo battery for the display and controller. This model offers 2000 mAh and will supply the system with power for almost three months according to my calculations. Whether this is actually the case will be seen in practice. I can charge it via USB. The corresponding charging module can be found in the Adafruit online store.
Code
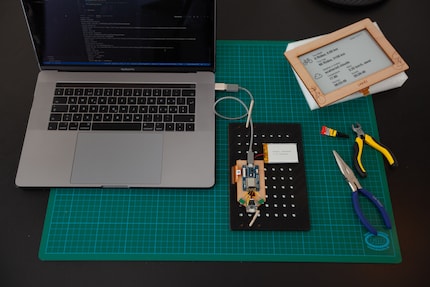
Yay, I finally received the components! I can now programme the ESP8266 controller directly from the Arduino IDE. But honestly, I'm not a big fan of doing it this way. Luckily, I found an extension for VS Code. After that, making «Hello World» pop up on the display was a piece of cake.
To receive data from the Internet, I first needed to establish a Wi-Fi connection. The corresponding ESP8266 Wi-Fi library provides all the necessary functions. My display is quickly ready to receive data. OpenWeather offers a simple and free API for this purpose. However, the memory on an ESP8266 is very limited. OpenWeather's JSON Response is sometimes too big and subsequently crashes the programme. However, the Arduino JSON Library has the ability to filter results in advance and to load only the required data into memory.
To save power, the controller can be put into a deep sleep. During this rest phase, the controller reduces all activity and only maintains the absolutely necessary processes to wake itself up after a defined time. I decide to update the display only once per hour.
Strava data integration is somewhat more complicated. Unlike OpenWeather, the API is secured over HTTPS. Furthermore, I can only access personal data if I have previously authenticated myself with Strava. This procedure is called OAuth 2.0. This works out eventually, giving me access to my personal data such as cycling distance, bike tours and so on. Sadly, the API endpoint won't show weekly statistics. I'll have to calculate them myself from previous tours.
Last but not least, the display needs a facelift – time to beautify E-Ink. I accessed the GxEPD2 library for fonts and images. And hey, it's curated by a Swiss programmer! Since I bought a newer Waveshare display, he kindly extended his library for me.
Frame and housing
I like wood. I own quite a bit of wooden furniture. So why not embed the display in a wooden frame? I got familiarised with the possibilities of laser cutting and engraving during a previous project. A service offered by the Zurich Laser-Atelier. After testing different woods and engraving techniques, I put in my order. The result: a precisely cut wooden frame with engravings and a base for the controller and USB charger.
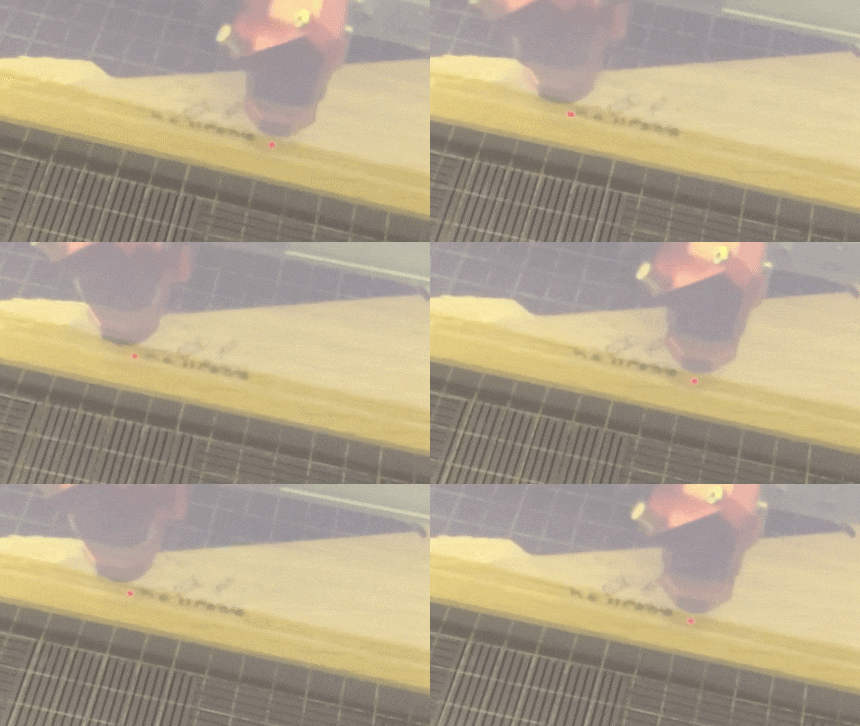
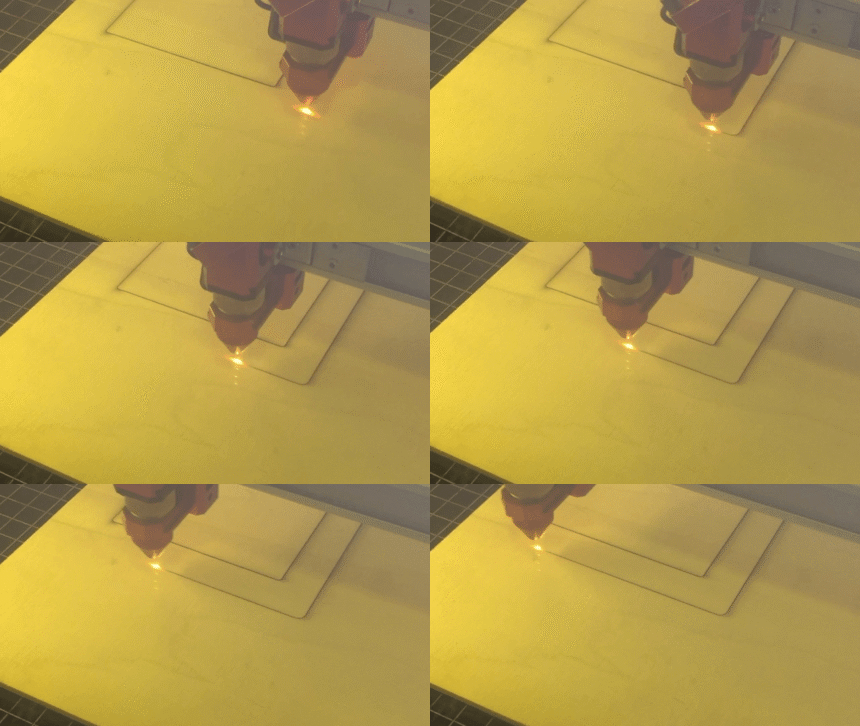
Manufacturing the case is a bit harder. The Waveshare displays aren't centred. But I really want to have an even frame. Thankfully, I can compensate for this offset with my housing. But laser cutting is out of the question here. Time for some 3D printing. Of course, this wouldn't be possible without my friends at Lauschsicht. At least four iterations are necessary until we're satisfied with the result. I first designed the case in Cinema 4D and later switched to Fusion360. The latter is much more suitable for such work.
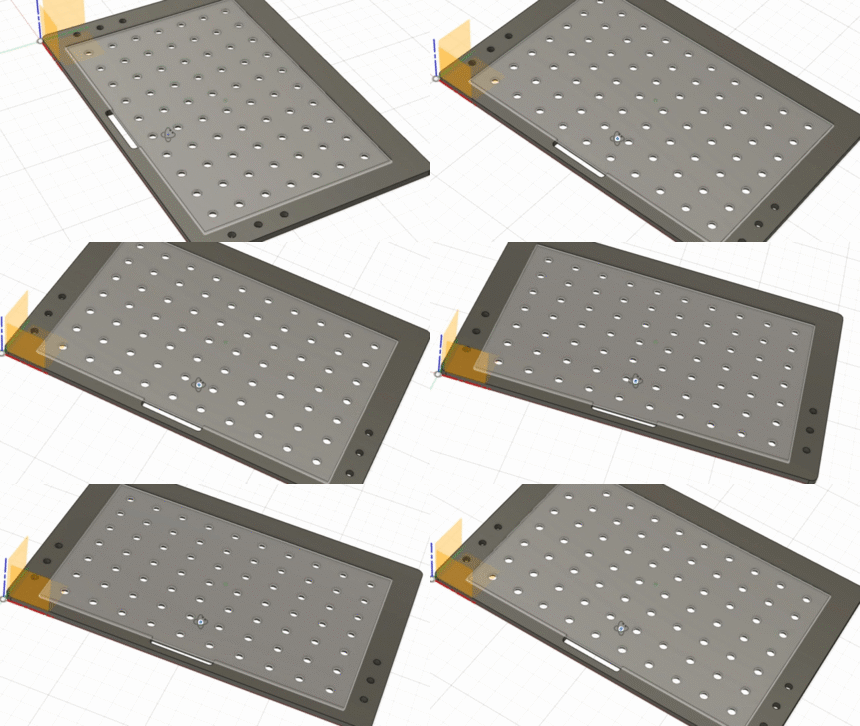
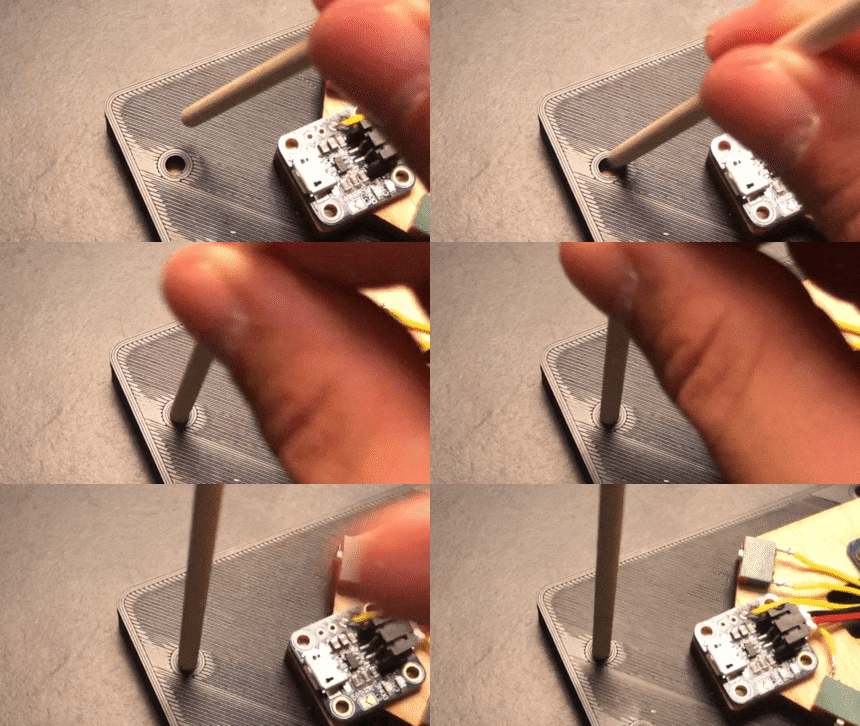
In addition, I installed two switches. The first to turn the display on and off. And the second one to interrupt deep sleep mode. I don't want the controller to go into a deep sleep after a few seconds during development or debugging.
For assembly, I placed the display into the case and glued it to the wooden frame. I also glued the controller to the base. The USB charger and switches were also firmly soldered to the controller. Assembling a single display takes about one hour.
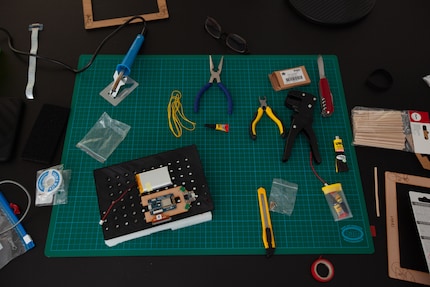
Some statistics about my project
- A laser cut including engravings takes about 30 seconds – yes, it's incredibly fast.
- Compiling the code takes about 2 minutes.
- A 3D model of the case takes about 4 hours.
- Delivery of an Adafruit battery from the USA takes 2 days.
- Delivery of a Waveshare display from China takes 2 to 3 weeks.
What have I learned?
This project is primarily a personal goal of mine. The idea arose during the first corona lockdown back in spring. I've learned an incredible amount in the meantime. Being involved with technologies I've hardly or never worked with before. The learning curve was steep, and the fun I had was correspondingly high. It also feels incredibly satisfying to create something myself from scratch and that I can hold in my own hands. As a designer and software developer, this is quite rare. And the best thing about it all: I've been cycling more.
In any case, I'm excited to push the project further. I already have some exciting ideas on the back burner. Like a companion app, more integrations, more sports, data from friends, exciting and entertaining statistics and much more.
The product is also suitable for other applications. A family calendar in the living room, for example, or a rain radar image on the coat rack. Do you have any brilliant ideas? Let me know in the comments!
I'm an independent designer, developer and founder of Vision 11 – a small design studio for digital experiences in Zurich. Vision 11 creates outstanding interactive and immersive experiences for national and international clients. www.vision11.ch
Practical solutions for everyday problems with technology, household hacks and much more.
Show all


