

Getting started made easy: How to crochet your own little dog
I ventured into the art of crochet with a tutorial for eight-year-olds. I quickly reached my limits - it's not that easy for children after all. Here are my tips and tricks.
Amigurumi. This is the name of the Japanese art of crochet, in which people, food or objects are crocheted into small, cute dolls. Animals are a particularly popular motif. And because Kira, my grandparents' dog, is the best pet in the world, I'm starting my return to the big world of crochet with her.

Source: Stefanie Lechthaler
I choose the mini crochet set from Folia with a fox as the pattern. Its body shape looks very similar to the border collie and the description says that the set is recommended for children aged eight and over. I was good at crocheting when I was little. "This will be easy", I think to myself at first. Pff. Not at all. I soon realise that the little doll requires a lot more skill and concentration than the scarf I crocheted in needlework class.

The set includes yarn, crochet hook, a pair of safety eyes, crochet instructions and cotton wool as standard. The only thing I still need to buy is a stuffing needle. And, as it turns out later, stitch markers. For Kira's coat, I replace the orange yarn supplied with beige yarn.
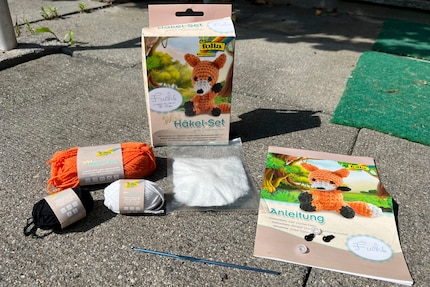
Source: Stefanie Lechthaler
Easy as pie? It goes like this
I loop the knitting yarn around my index finger and start the first round full of enthusiasm. Although I follow the instructions step by step, the result looks more like a ball of yarn than an amigurumi. I undo the knot and start a new loop.
This is how it goes for the next few hours. I crochet, unravel, crochet again, unravel again ... It's exasperating! "You'll see, it's not as easy as it looks", my editorial colleague and mum of two Katja warned me. She was right. I'm beginning to realise that only highly gifted eight-year-olds can understand these instructions. Everything is tiny and I often have to crochet several rows before it looks like something. And if it's wrong, the story starts all over again.
This project not only tests my fine motor skills, but also my patience. My fingers start to ache by the end of the day. But giving up is not an option. My last resort: help from the internet. I'll get to that later.
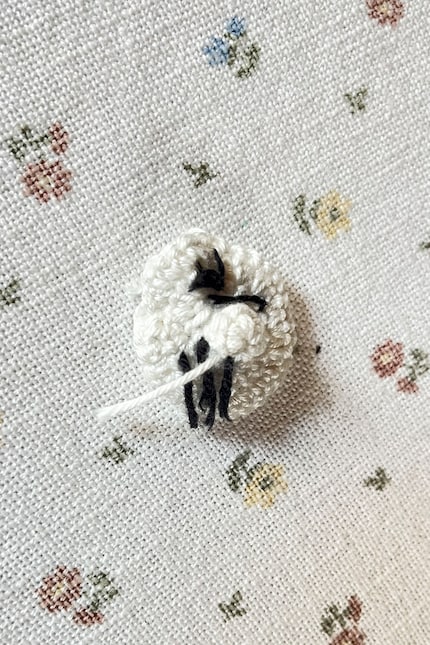
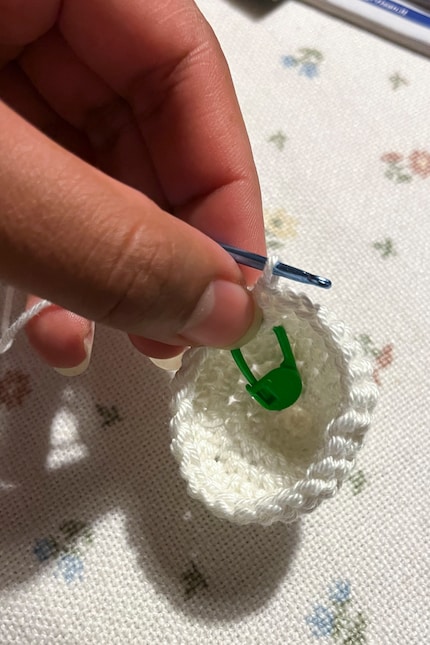
Source: Stefanie Lechthaler
Easy for adults? More likely
After several attempts and a little help, I can finally start stuffing the shells with cotton wool and the puppy takes shape. I put the eyes in and melt away. The figurine looks so cute that I forget all my worries and even enjoy crocheting it. I understand the instructions and now know how to improvise adjustments to the figure. In general, the fox could do with a few more stitches in some places, as the instructions tend to make it smaller than in the picture.
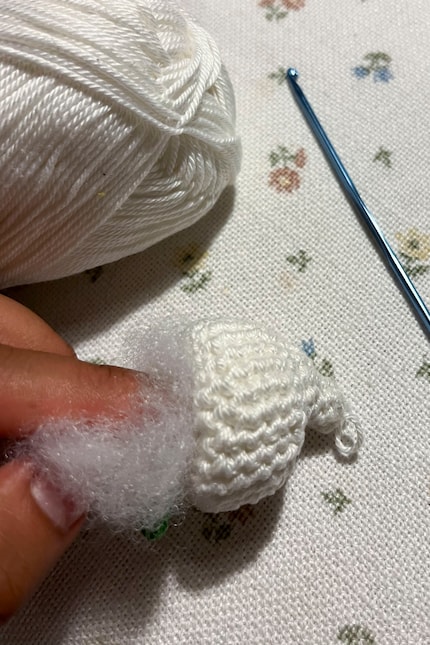
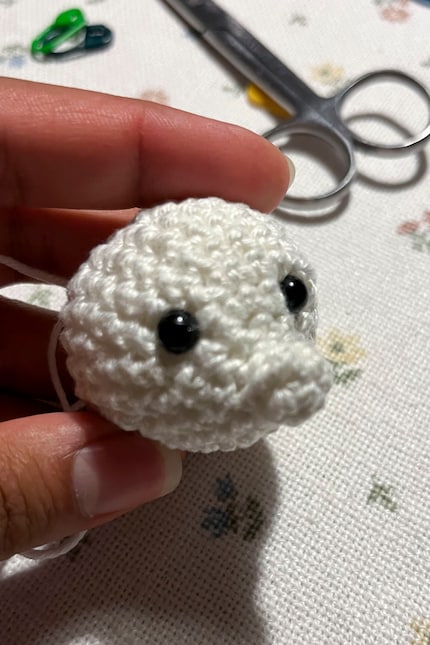
Source: Stefanie Lechthaler
The last step is the sewing. I thread the loose strings of yarn through a darning needle and join the individual pieces together. The instructions don't describe too much about this, but it works relatively intuitively. The only thing I can't follow is the instruction to attach the arms and legs so that they can move. How this is supposed to work is not described.
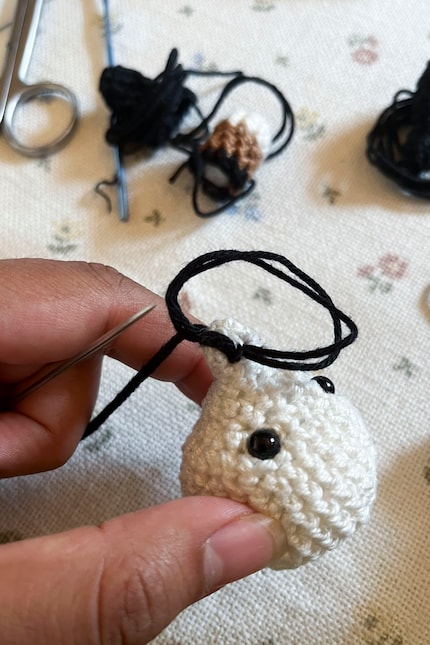
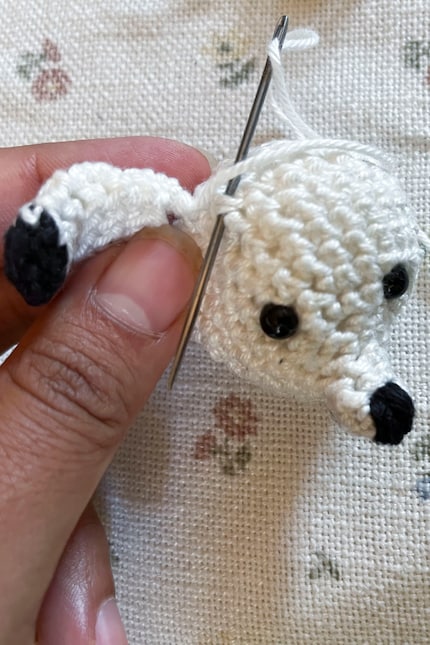
Source: Stefanie Lechthaler
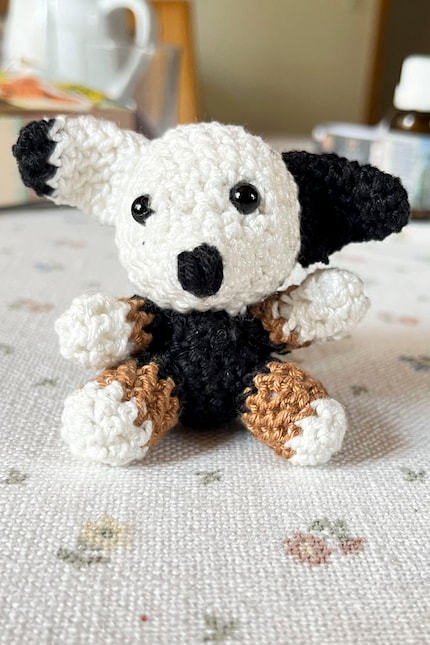
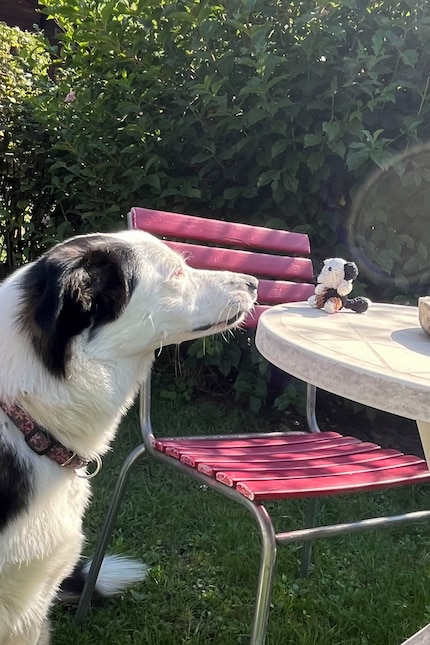
Source: Stefanie Lechthaler
For beginners: tips and tricks for your first amigurumi animal
The "basic crochet course" described in the instructions would definitely not have been enough for me to understand the basics. That's why I did some research and scoured the internet for the simplest explanatory videos. You can find my learnings below.
The crochet instructions give you the direction
The instructions are a little cryptic and the abbreviations and steps may vary slightly depending on the language. But basically you just have to follow the instructions step by step. Just like in a recipe. The crochet instructions describe which stitches you make in which round. At the beginning, this requires your full concentration.
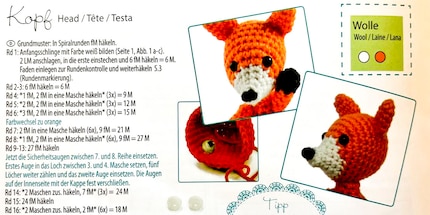
An example of an instruction in this crochet pattern:
Round 8: (1 dc, 2 dc in a stitch)(6x), 9 dc = 27 sts
And here is the translation: In the eighth round (round 8), first crochet a single crochet (1 dc) and then a stitch increase (2 dc in a stitch). You will have three stitches. Repeat this six times (6x). You should now have 18 stitches. Then make another nine single crochet stitches (9 dc). This will give you a total of 27 stitches (27 sts) in the eighth round. 18 plus 9 equals 27. Former eight-year-olds remember: a simple multiplication table exercise.
Source: Stefanie Lechthaler
You can take it easy
The instructions recommend not crocheting too loosely so that the filling material doesn't show through. I dutifully follow the instructions. At some point, I realise that the stitches are so tight that I can hardly get the crochet hook through in the second round, making everything more difficult. So I take a slightly looser approach - and suddenly it's going like clockwork höhö.
Every lap counts
The most important thing is that you keep track. To do this, you must count the stitches each time you crochet. The following applies: If the object becomes narrower, make a decrease. If it gets wider, make an increase. If you arrive at roughly the same place after a round as the previous one, you have most likely done everything right. It is best to mark the rounds with stitch markers. If you get confused, you can simply count the stitches from the marker.
The stitch decrease
The instructions say "crochet 2 stitches together". This refers to a stitch decrease. If you still had seven stitches in one row, you should only have six in the next row after a stitch decrease.
The stitch increase
The instructions say "crochet 2 dc in one stitch". If your row has seven stitches, you will extend it by one with an increase and get eight in the next row.
All beginnings lie in the magic ring
I have the biggest aha moment when I realise that every element of my little doll starts with a magic ring and six chain stitches. The ring is the basis for figures that become round or three-dimensional. It can be resized until you tighten it. That's why it's magical.
Colour change
To get the smoothest possible colour gradient, you can make an "invisible colour change".
Of course, the list of crochet tips doesn't end here, but this will get you a long way. If you don't succeed with the fox straight away, you can practise with a larger crochet hook and thicker yarn first. As always, the same applies here: Practice makes perfect. I had to learn that once again. But it was worth it and luckily I had Kira by my side (who preferred to be stroked rather than modelled).

Source: Stefanie Lechthaler
Painting the walls just before handing over the flat? Making your own kimchi? Soldering a broken raclette oven? There's nothing you can't do yourself. Well, perhaps sometimes, but I'll definitely give it a try.
Practical solutions for everyday problems with technology, household hacks and much more.
Show all

