
Guide
Better than biscuits
by Pia Seidel
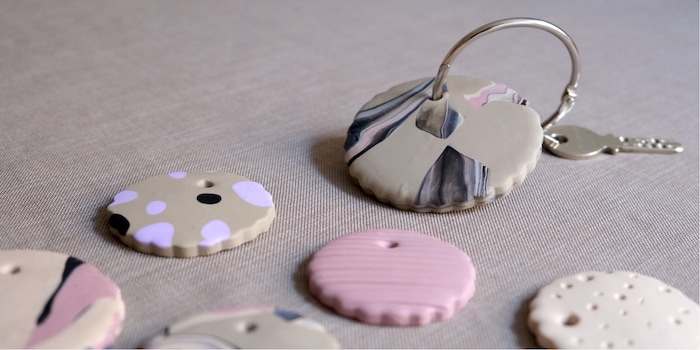
To reduce screen time, I'm constantly on the lookout for new activities. I recently decided to try Fimo modelling clay, which hardens in the oven and can be used to make great things.
I spend more time on my laptop than I'd like. But I do it mostly to find inspiring activities that don't require precisely a screen. TikTok is a breeding ground for tips and designs made with Fimo soft modelling clay. Under the tag "polymerclay", users give instructions for models that are as simple as complex. I recently showed what it takes to shape simple shapes:
This time, I'm going to try out three surface shaping techniques that have the advantage of providing variety, particularly when making key rings and Christmas tree decorations.
Gently pressing a ruler, brush or other tool onto the modelling clay creates structure in no time. Combine lines, dots, etc. according to the desired spacing! My taste for irregular, chance structures leads me to make random holes in the circle with a paintbrush. At the end, I carefully spread the paste with a roller and voila!
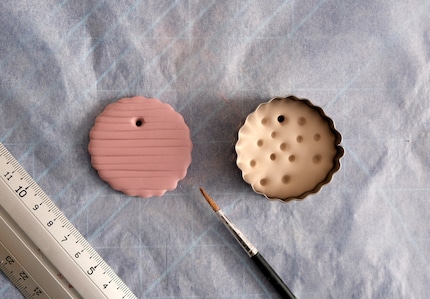
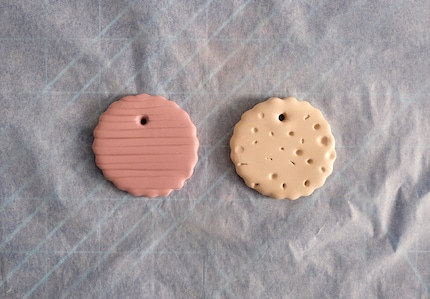
Other possibilities for creating beautiful patterns? Natural objects, such as flowers, leaves and shells that leave delicate marks in the clay, - just like fossils -, a technique suitable for beginners too.
The leftovers can be used to create a marbled effect. Two colours are all you need, by the way. To do this, form two strands, one of each colour, and stick them together! Hold both ends firmly and twist them until you have a mixture of colours along the whole length!
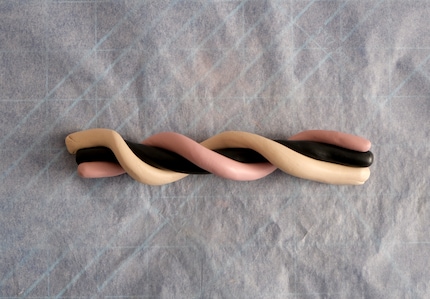
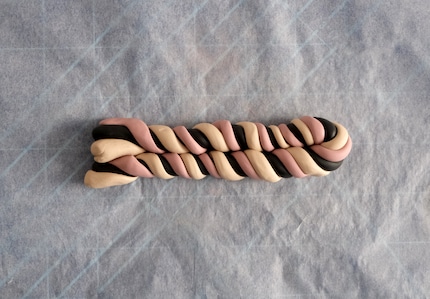
The more you repeat the process, turning the ball into a pudding, the more the pattern looks like marble. In the photos, you can see the result of a single process. In the video, I repeated the process several times.
Finally, I shape a marbled piece in beige tones.
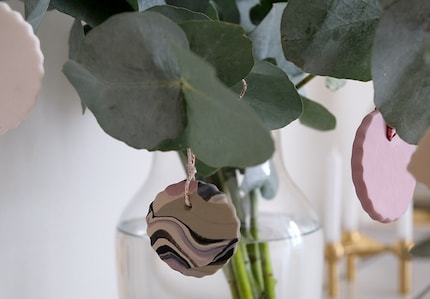
Patterns can be created by cutting out objects and placing them on a flat piece of Fimo. To do this, use at least three packs of Fimo Soft in the same colour for the background. Roll them out to a height of about five millimetres to get enough surface area. Next, spread the colours for your design over a height of about one millimetre! Take a cutter or, even better, a scalpel to cut out the shapes that you place upside down!
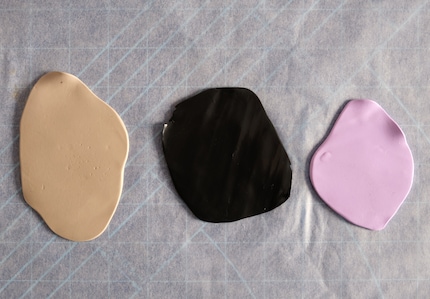
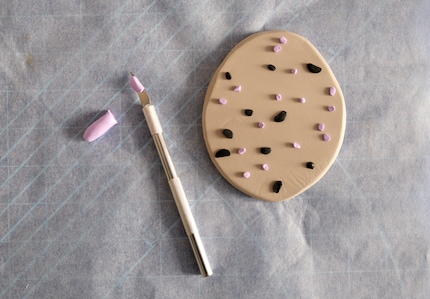
To make spot patterns, I cut out round shapes with a scalpel. But before that, I detail a Fimo ball using a kitchen skull. It went well. However, it is difficult to correctly determine the size of the pieces. For a granito effect, it's best to cut out angular rather than round shapes and play with different colours.
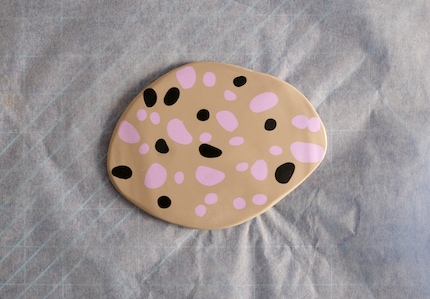
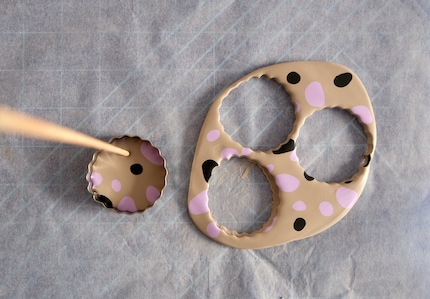
Whether it's flowers or fruit, let your imagination run wild! Even concrete patterns have their charm. Place the different pieces on the monochrome background, varying the distances! To help the pieces blend in, run the rolling pin over them at the end!
You have time to create an image. Fimo Soft only hardens in the oven. Just bear in mind that small flakes of dust can settle on the surface. During longer breaks, cover everything with plastic! Once the pieces are finished, put them in the oven at 110 degrees Celsius for 30 minutes! Once cooled, they're ready for further processing.
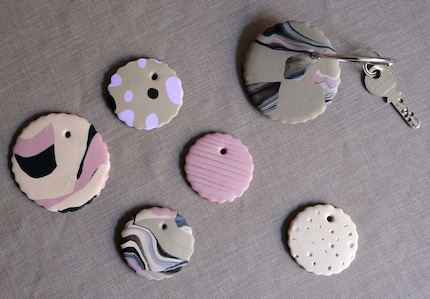
This time I'm using a ring to make a keyring. Soon, I'll be trying out other patterns like checks, which I'll tell you about in an article. More in the next issue.
Like a cheerleader, I love celebrating good design and bringing you closer to everything furniture- and interior design- related. I regularly curate simple yet sophisticated interior ideas, report on trends and interview creative minds about their work.
Practical solutions for everyday problems with technology, household hacks and much more.
Show all